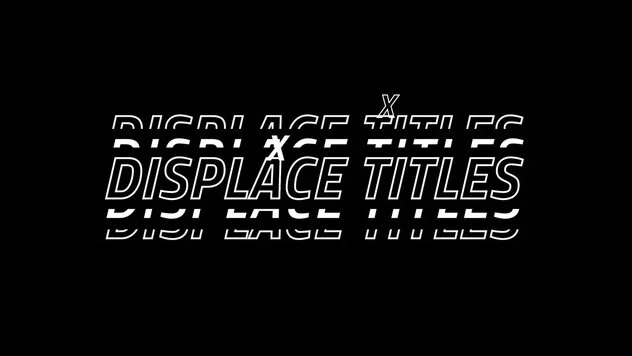
Titles & graphics
Project files
Step 02
Get the assets.
Step 03
Set up the project.
Directions
- ➊ In the files you downloaded, go to the Project folder and open Titles + graphics practice.prproj.
- ➋ Click OK at the bottom right of the Scratch Disk Settings window that appears.
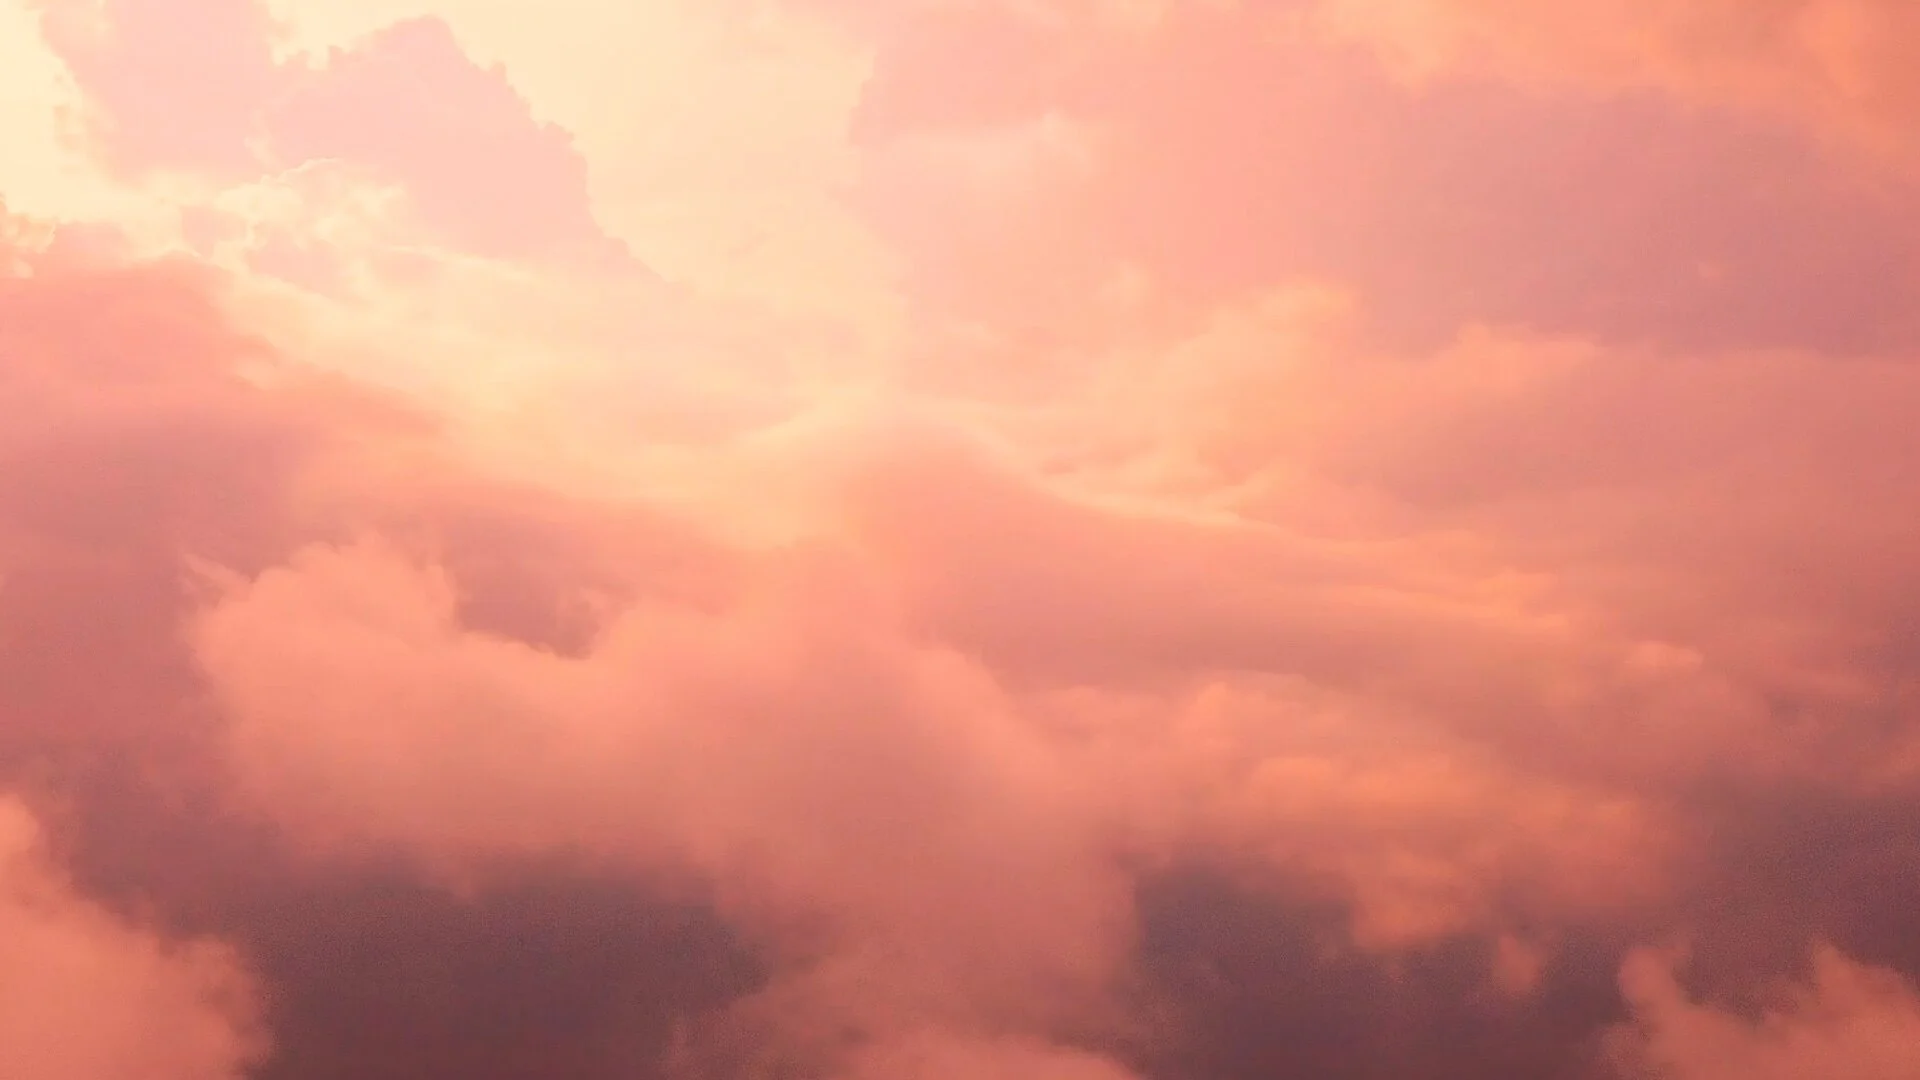
- ➌ In the Link Media window that appears, click Locate and navigate to Clouds.mov in the Assets folder.
- ➍ Click OK in the window warning about missing fonts.
- ➎ Start practicing by working through the sequences on the timeline!
Step 04
Add fonts if you want.
This is totally optional, but if you know how to add fonts to your device, here are the ones I used.
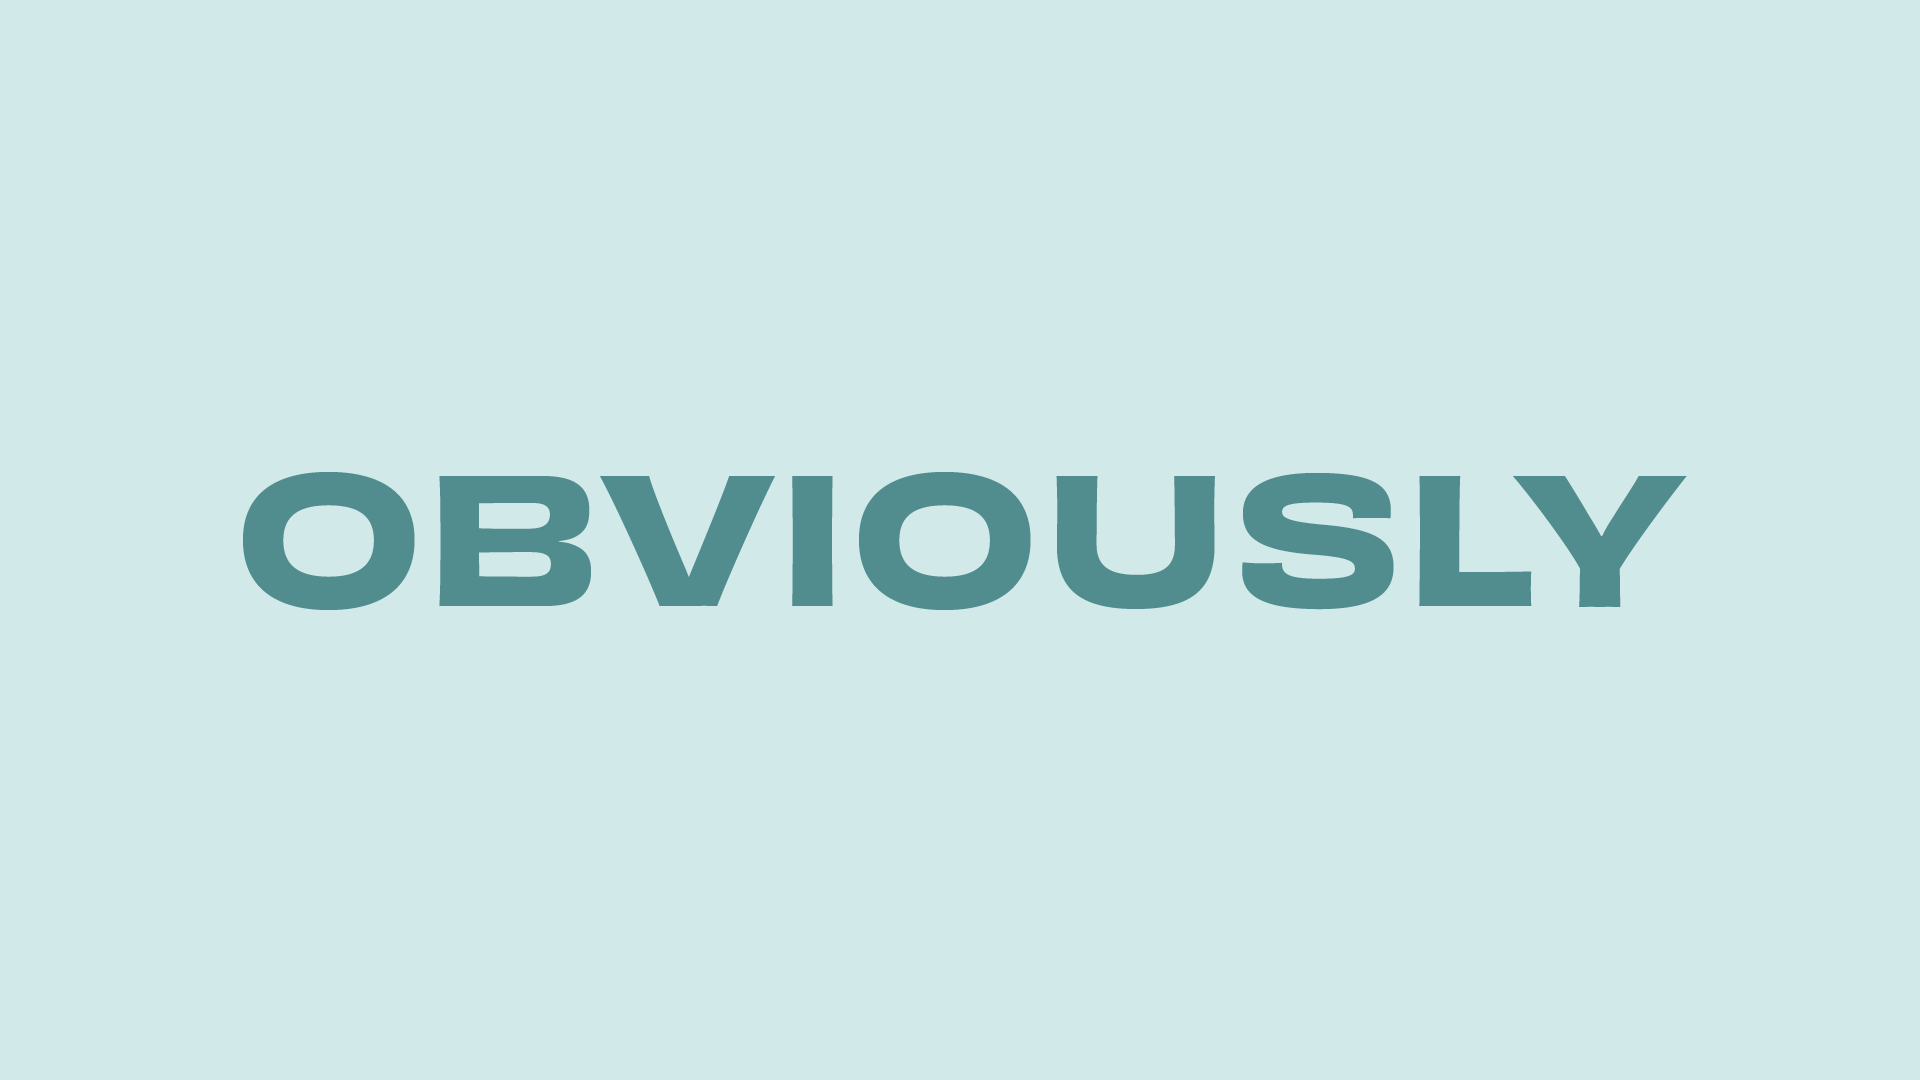
The styles Obviously Wide and Obviously Wide Bold were used, and Adobe Fonts is included with any Adobe subscription.
Here's the Displace titles mogrt from Adobe Stock that I used.
Here's the media replacement mogrt along with the video I added to it.
